-40%
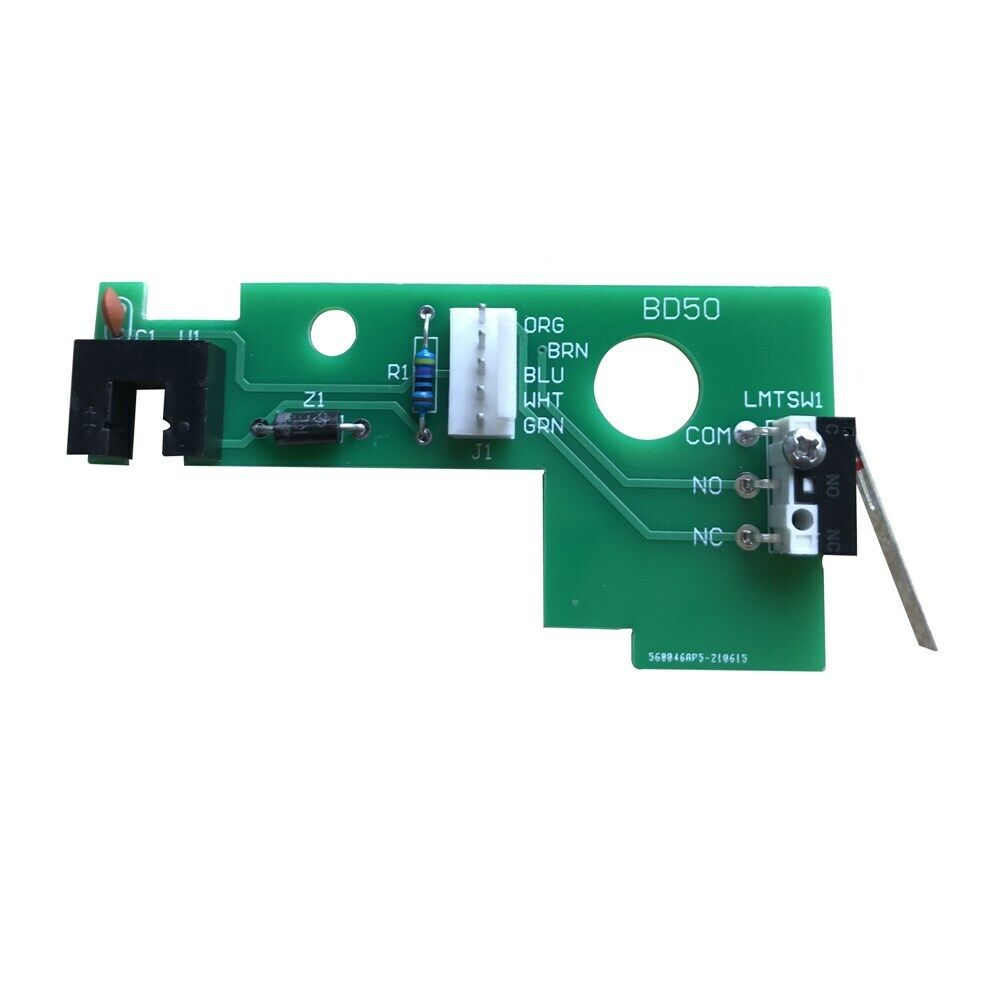
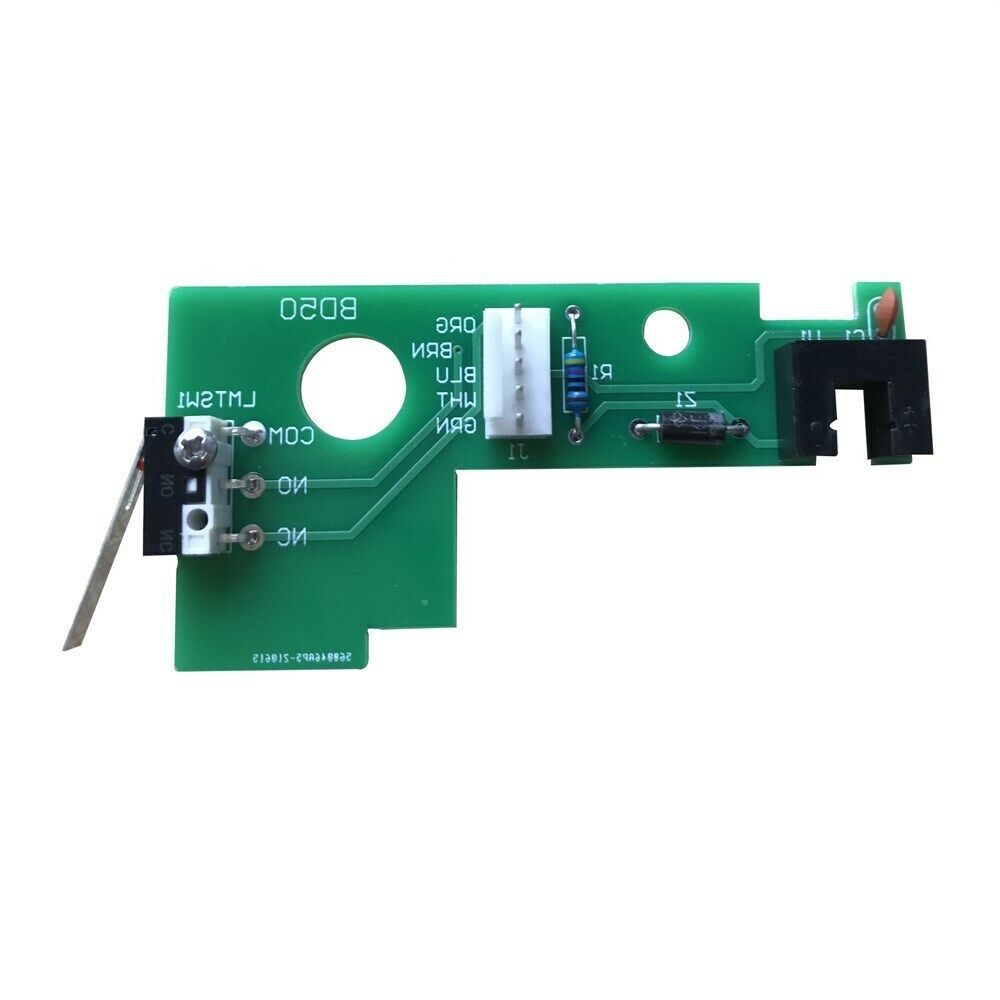
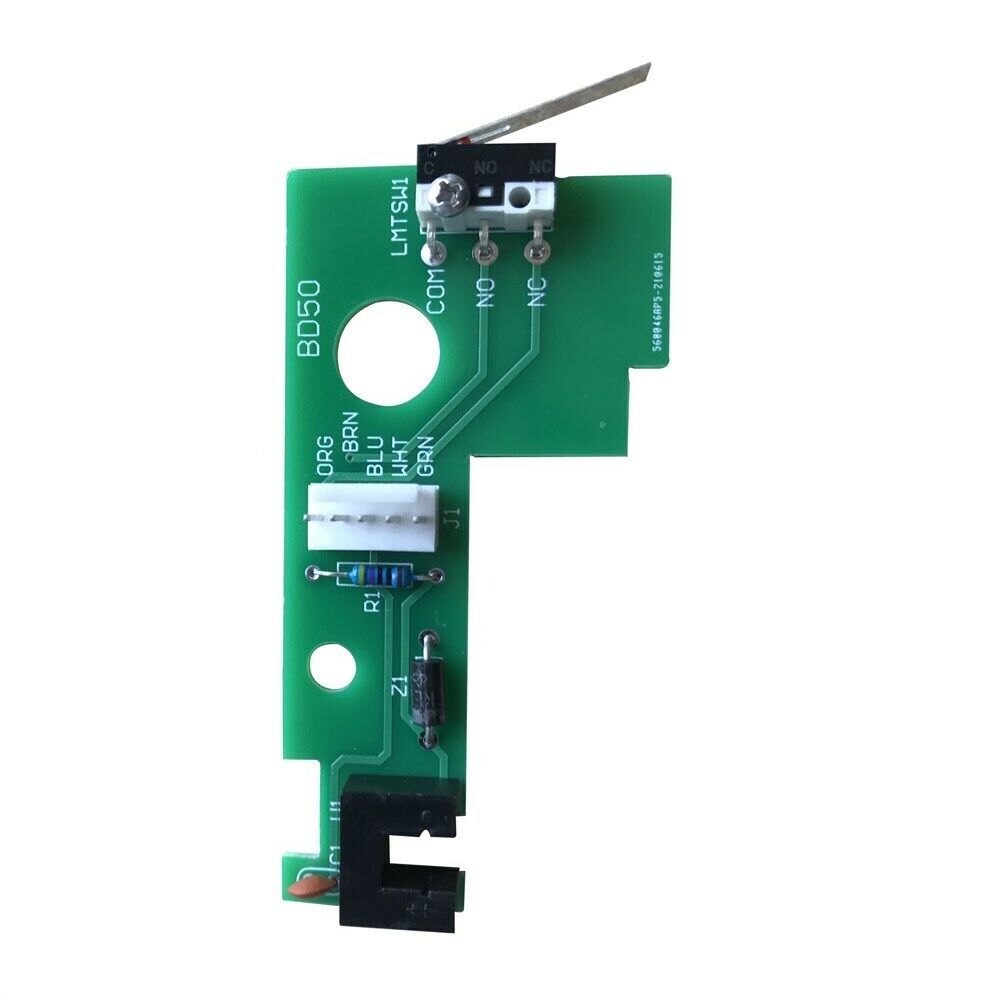
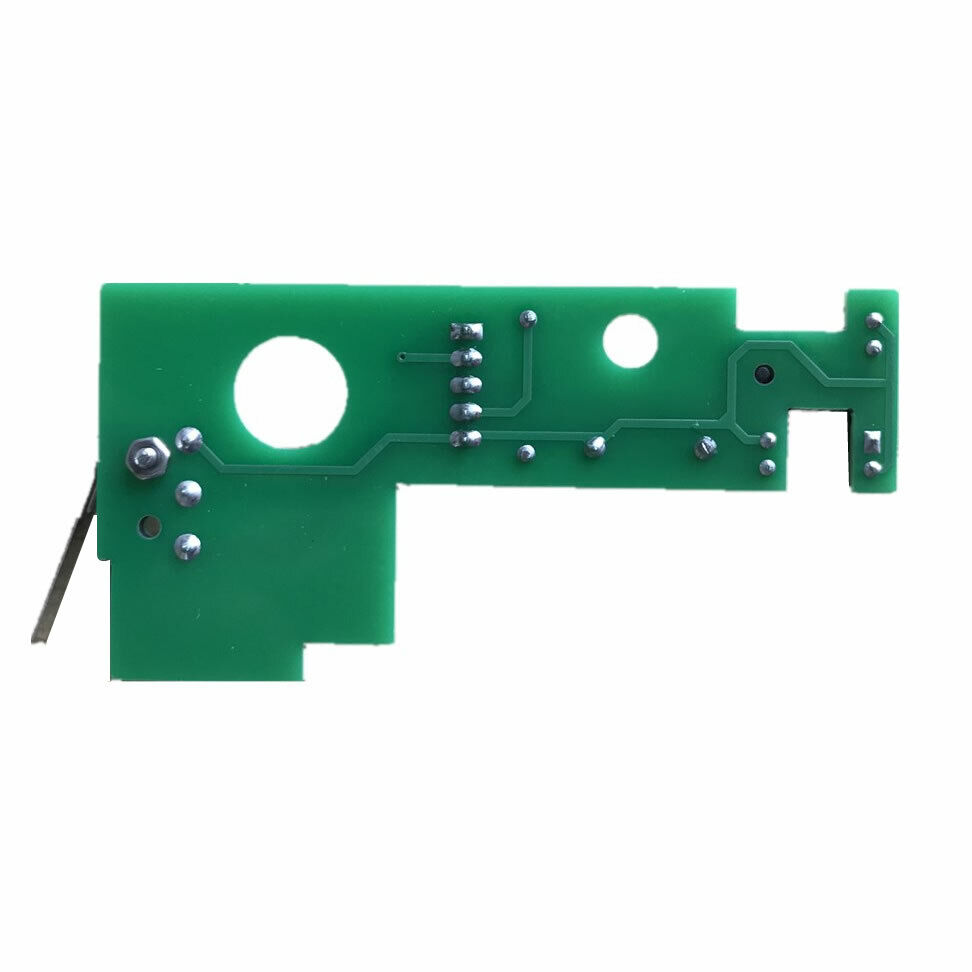
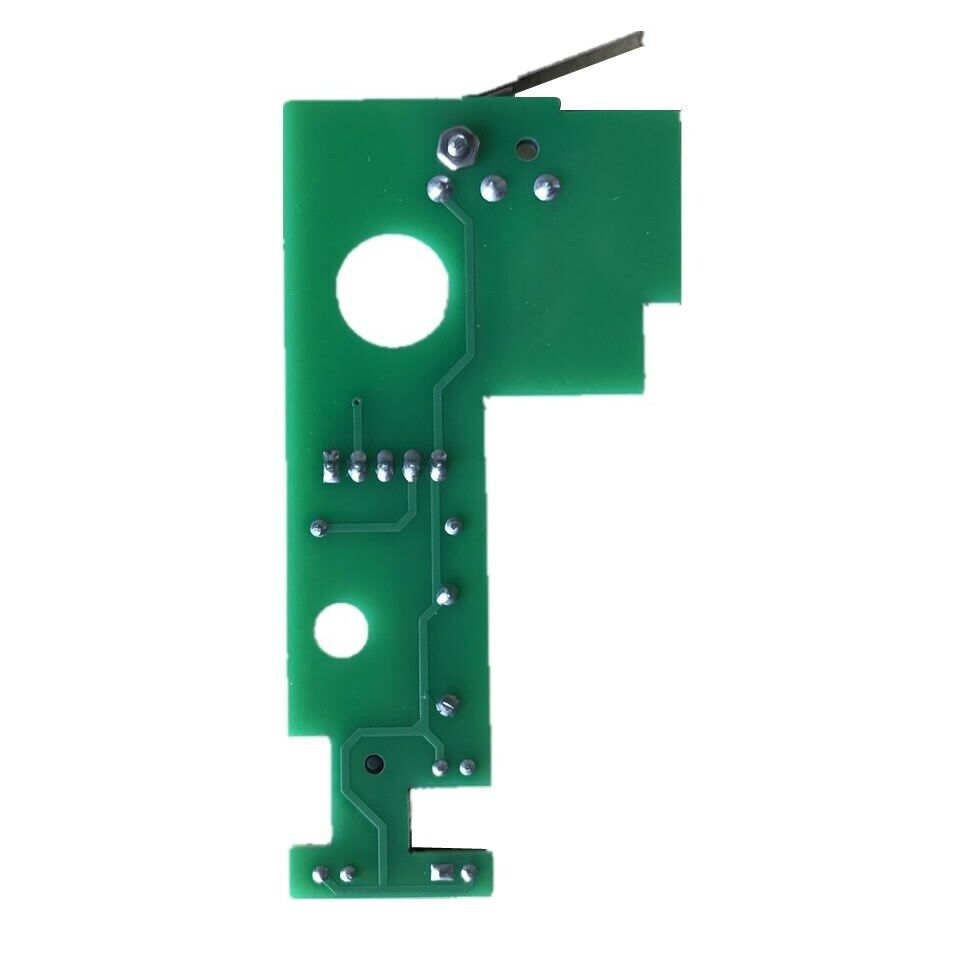
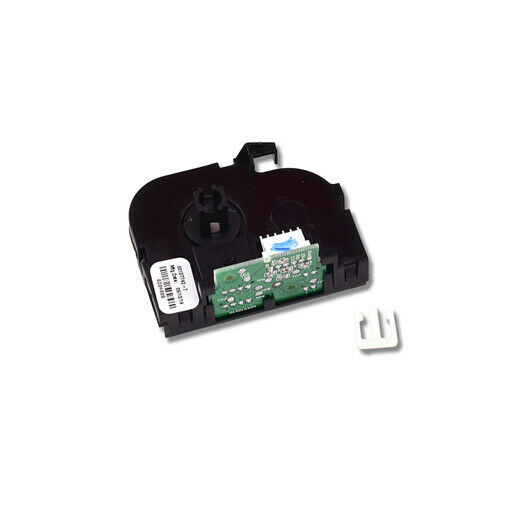
Mighty Mule / GTO Rev Counter Board for FM360, FM900, FM100 - RVCTBD50
$ 6.96
- Description
- Size Guide
Description
HOMEPAYMENT
SHIPPING
ABOUT US
CONTACT US
Store Categories
Store Categories
Electronics
Fashion
Motors
Home&Garden
Others
Detail
Composition: Consists of a tachometer and a limit switch to prevent your gate arm from running off
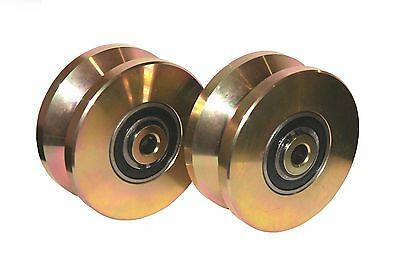
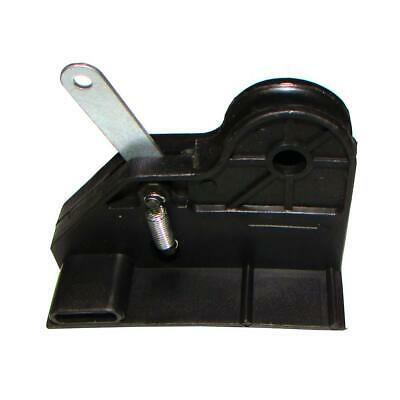
Suitable for: FM350 FM352 FM500 FM502 FM600 2000XL MM500/502 Mighty Mule,GTO PRO 2500 series
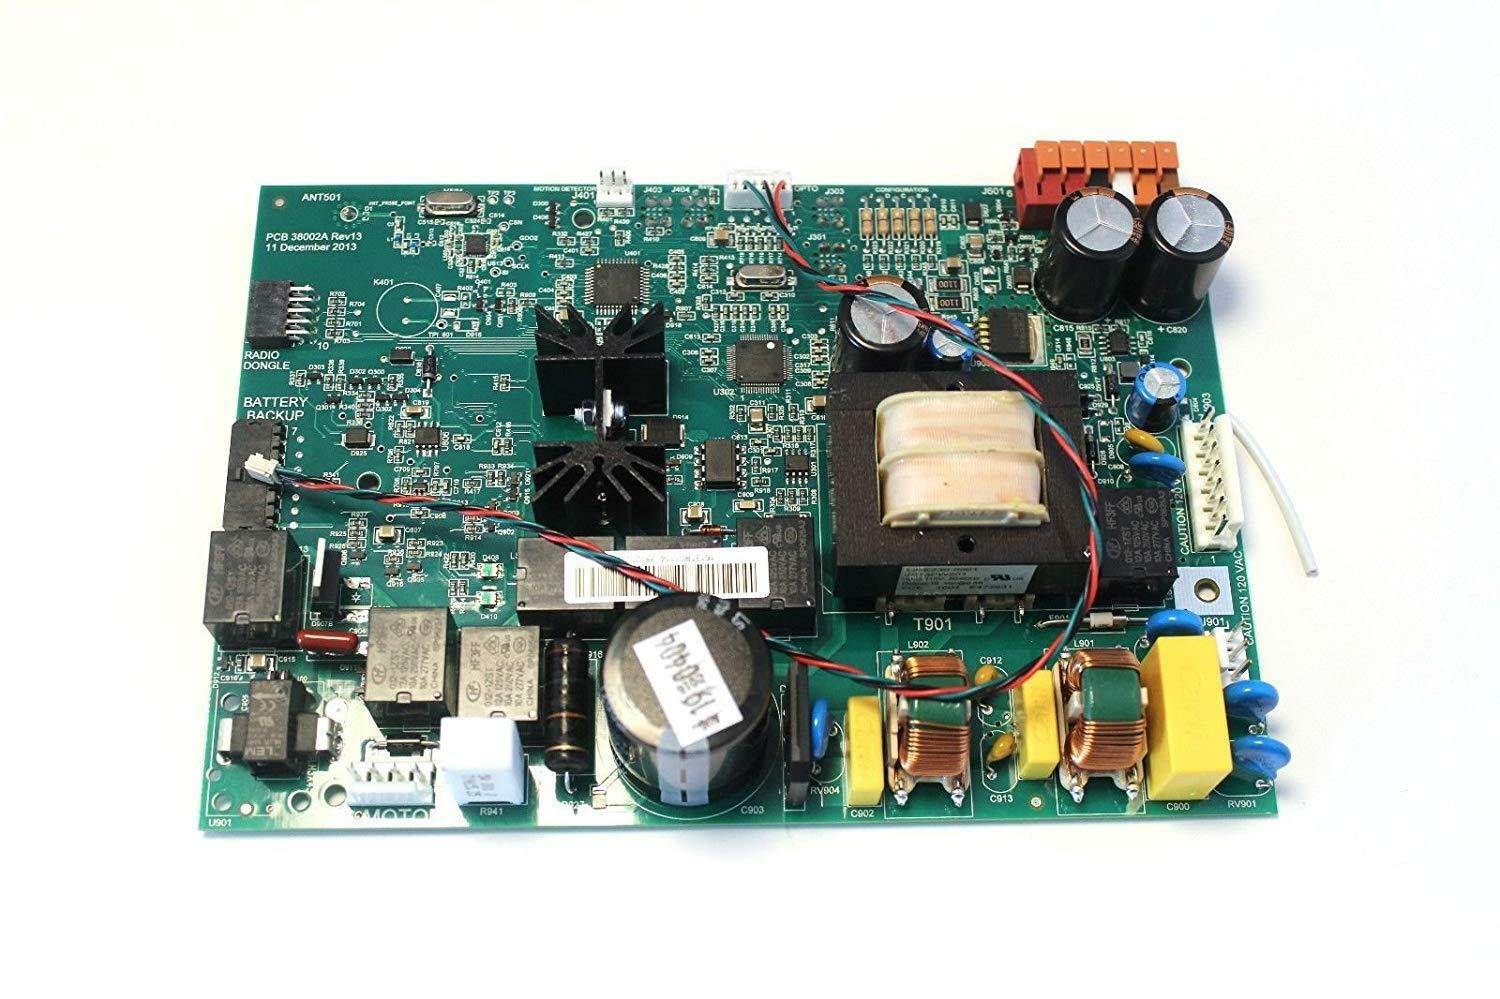
Determine the location of the fault: If the main arm fails, you will hear 3 beeps, if the secondary arm fails, you will hear 4 beeps, you need to pay attention to check the circuit board now and replace it in time
Waterproof coating: surface gel coating to refuse the erosion of moisture, enhance the practical cycle, do not have to worry about the impact of fog, rain, snow or heat and humidity, so you can easily drive into the home
Save money: it is very difficult to find professional repair personnel engaged in these devices, now you can DIY to solve the main arm failure problem, which is very simple and saves you money
Product Details
Item Weight: 0.81 ounces
Package Dimensions: 3.7 x 3.1 x 1.1 inches
Item Package Quantity: 1
Batteries Included?: No
Batteries Required?: No
We strive to provide easy-to-understand content to eliminate confusion when purchasing products
We cut through the version confusion to help you find the right replacement part for your needs
We take the extra step to make sure you get the right product for your project
The parts we sell are designed for all specific generations of gate openers
Installation Steps:
1 First, you must turn off the power switch on the lower left side of the control box.
2Remove the cotter pins at the ends of the gate arms. Leaving all the wiring in place, you turn the gate arm upside down and
place it on a piece of cardboard on the floor. Then use the T20 tool head to remove the 14 screws. Less than 2 minutes with a battery operated tool.
3 You open the clamshell housing an inch or so and unplug the pin connector cable. Note that the cover does not come off, but rotates open.
4 A shorter T20 screw holds the board to the assembly, screw the new board on, and then reinsert the connector,
Make sure the orange and green cables match the markings on the board.
5 After getting all this accumulated junk out, it's a good idea to put some wire or small nails in the drainage holes on the bottom,
to make sure the water can drain out.
6 Put the arm back together, lubricate all the pins and friction points with molybdenum grease, and then turn the power back on.
Note: There is no manual
Payment Method
Shipping Policy
Returns Policy
About us
Contact us
Payment Method
Shipping Policy
Returns Policy
[RETURN_POLICE]
About us
Contact us
HOME
PAYMENT
SHIPPING
ABOUT US
CONTACT US
