-40%
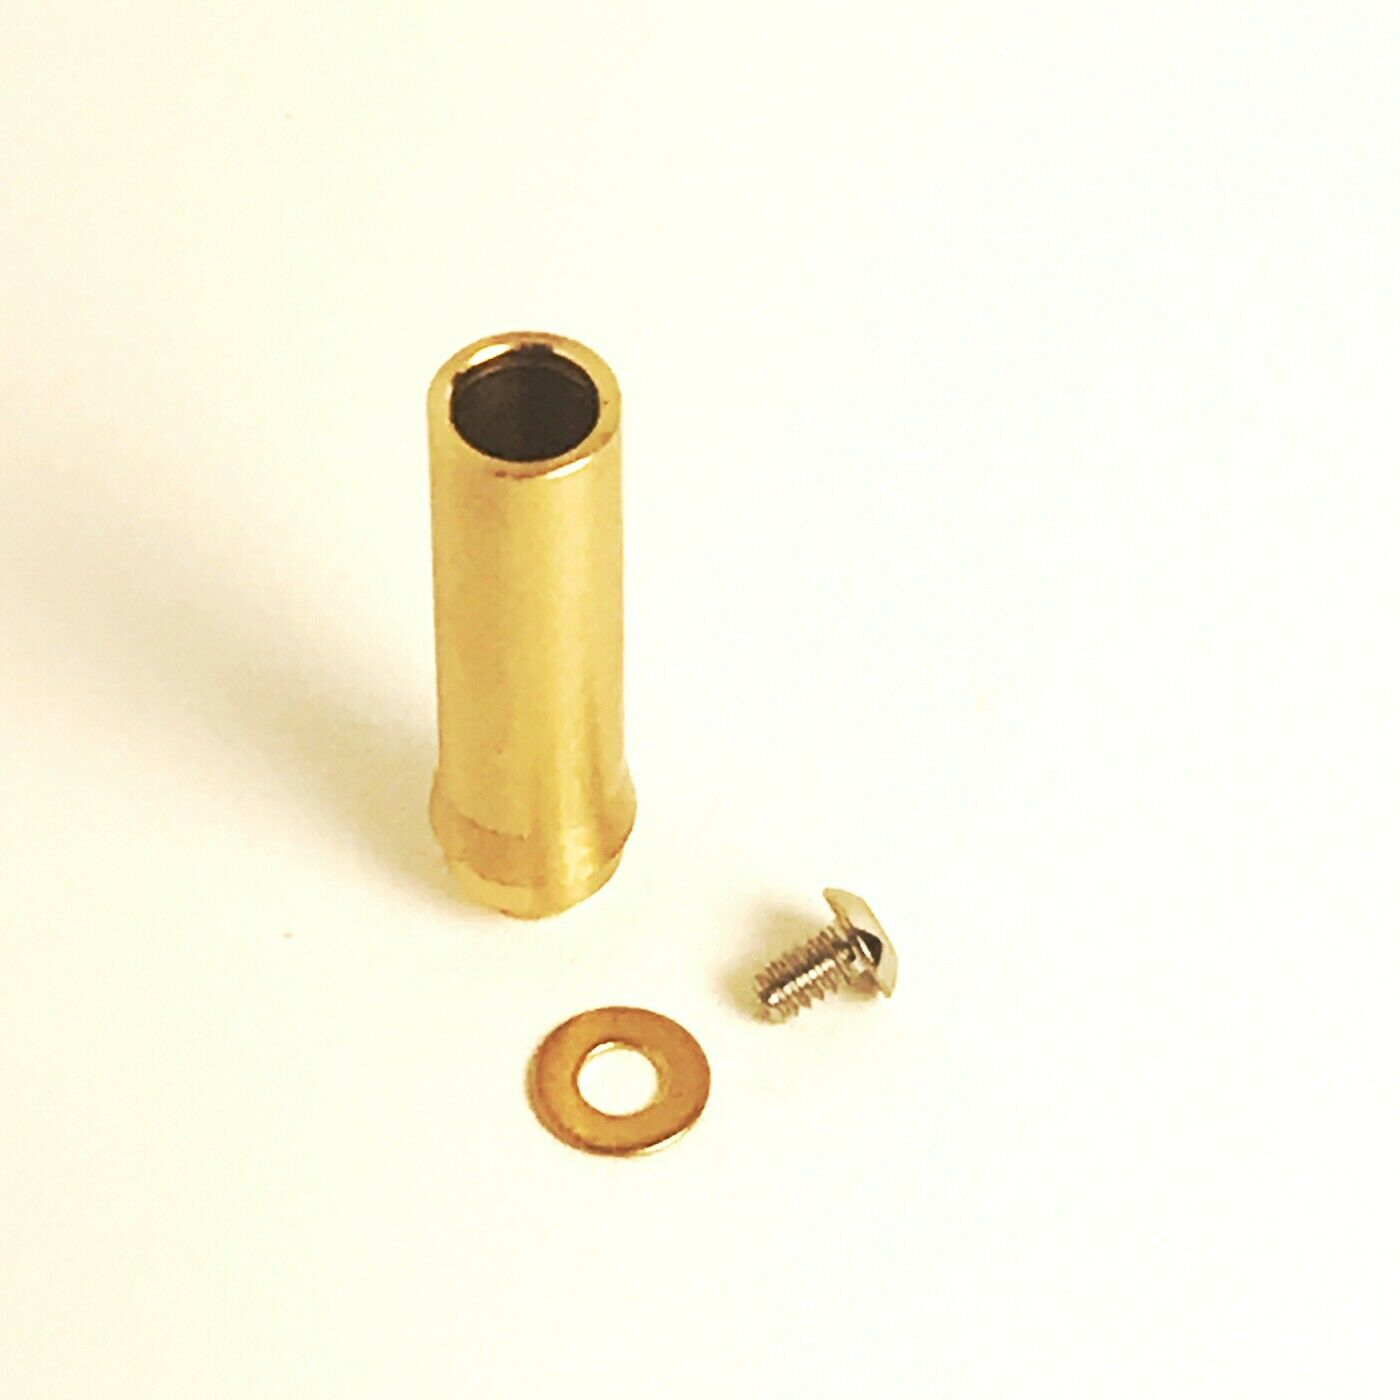
Fluke 724 725 726 Replacement Banana Input Terminal Jack and Insulator
$ 13.17
- Description
- Size Guide
Description
A loose or broken banana terminal jack on a Fluke 724, 725, or 726 is a common and frustrating situation. It is most often caused by repeated sideways pressure from inserting and removing leads over time that causes stress on the jack and eventually results in it breaking away from the board.Consistent with ScopemeterRepair.com's history of engineering other replacement Fluke parts, we identified the weaknesses in the OEM part and created a product that is not susceptible to the same failures. Our durability testing concluded this terminal will break before coming loose from the PCB, or the PCB itself will break first. It is both screwed and soldered to the PCB and doesn't rely on a solder joint alone to handle the operational stress. In other words, you will never have a terminal jack connection problem again!
Replacement is simple and straightforward. Refer to the basic instructions below or call, e-mail, or message us through eBay for help and direction. We can also do the job in our shop for per meter plus the cost of the terminals and return shipping; contact us for more information.
Includes
Terminal post
Washer and screw
Hex wrench for screw
7/64" drill bit
Insulator cover, if ordered
Required tools
Some means of holding the PCB while working with both hands (or good dexterity!)
Glove for protection from molten solder
Small flat-head screwdriver
Power drill
Soldering iron and solder
Solder wick or another solder removal method
Pliers, preferably needle-nose
Any other screwdrivers required to disassemble your meter (varies by model)
Replacement procedure
Disassemble the meter to gain complete, unrestricted access to the top and bottom of the terminal's PCB
Remove the old insulator if present using a small flat-head screwdriver; it will snap off
Using the included 7/64" drill bit, drill through the old terminal from the inside
Clamp the PCB in a holder, or use good dexterity to support it while doing the next step
Using your gloved hand (for protection against molten solder), grasp the old terminal with pliers then thoroughly heat the solder joint on the other side of the PCB it until it is completely melted
Continue to heat on the solder while gently twisting and rocking the terminal side-to-side to remove it from the PCB; do not force it or you may damage the PCB pad
Clean the pad completely with a solder removal method such as a wick; there must not be any solder in the hole or the new terminal will not go in
Press the new terminal through the hole and be sure it is fully seated; it should 'snap' in
Install the brass washer and screw, tighten the screw using the included hex wrench
Solder the washer to the PCB pad
Install the insulator
Another quality product from ScopemeterRepair.com with a
lifetime warranty!
If this product fails under normal, reasonable, and usual operating conditions and use, we will replace it at no charge. For our complete Terms & Conditions, please visit our website.
